Rearz Crafts: DIY Salt Dough Ornament
Posted by E on 2025 Dec 3rd
Hey there, Rearz friends!
The holidays are finally here, which means twinkly lights, snuggly nights, and lots of glittery Christmas magic! And guess what? This year we’re making something perfectly cozy and wonderfully crafty—your very own Christmas Salt Dough Ornaments! These squishy, shapeable ornaments are super easy to make with a grown-up helper, and they’re perfect for decorating your nursery tree, gifting to friends, or saving as a special Christmas keepsake you’ll treasure every year. Ready to get crafty? Grab an apron and let’s get crafting!
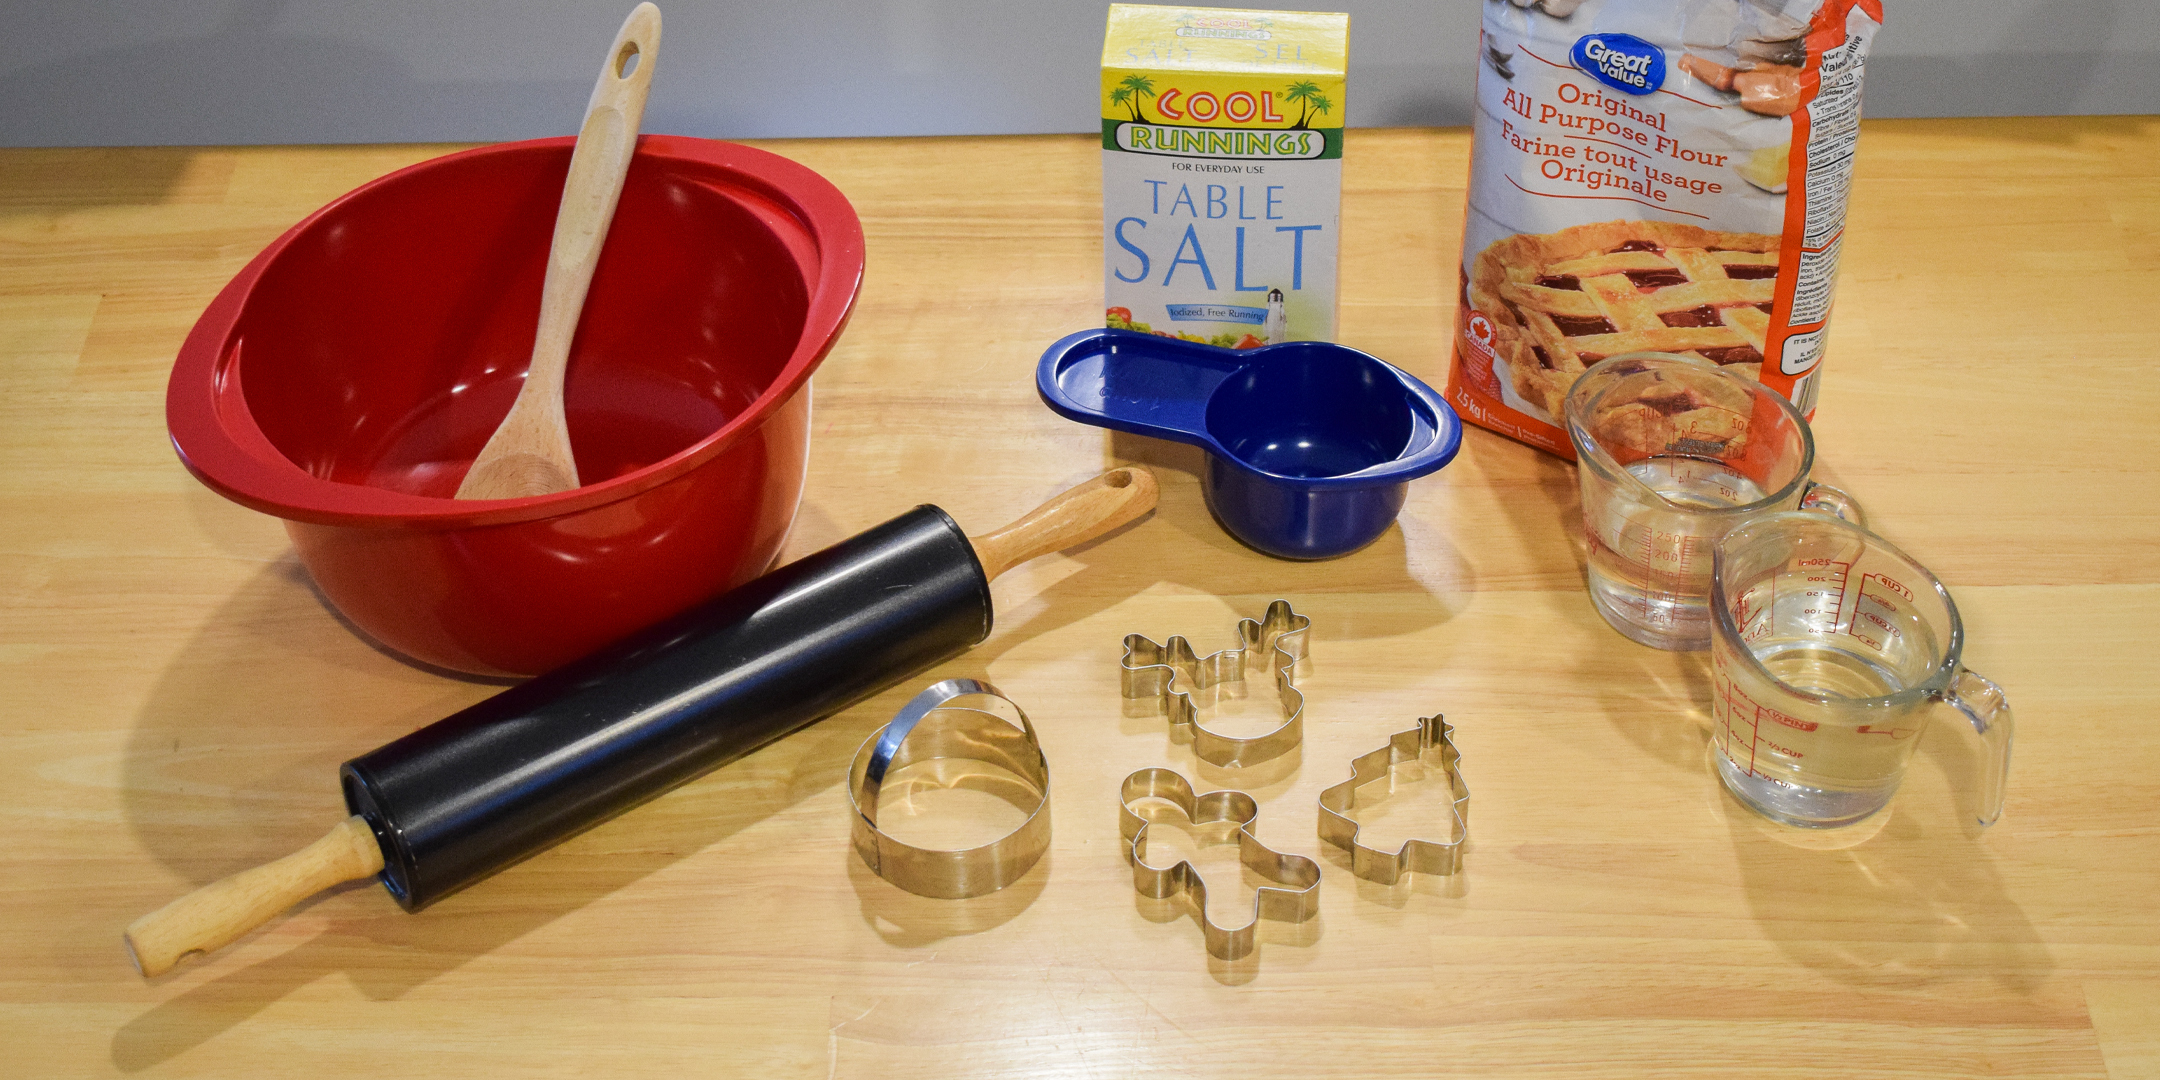
What You’ll Need
- A grown-up helper (for mixing, rolling, baking, and keeping things safe!)
- 4 cups all-purpose flour
- 1 cup salt
- 1 1/2 cup warm water (add a teeny bit more if the dough feels too dry)
- A big mixing bowl
- A rolling pin (or a smooth bottle!)
- Cookie cutters (any shapes you like!) — or a popsicle stick or pencil to trace your own
- A straw or pencil (to make the little hanging hole!)
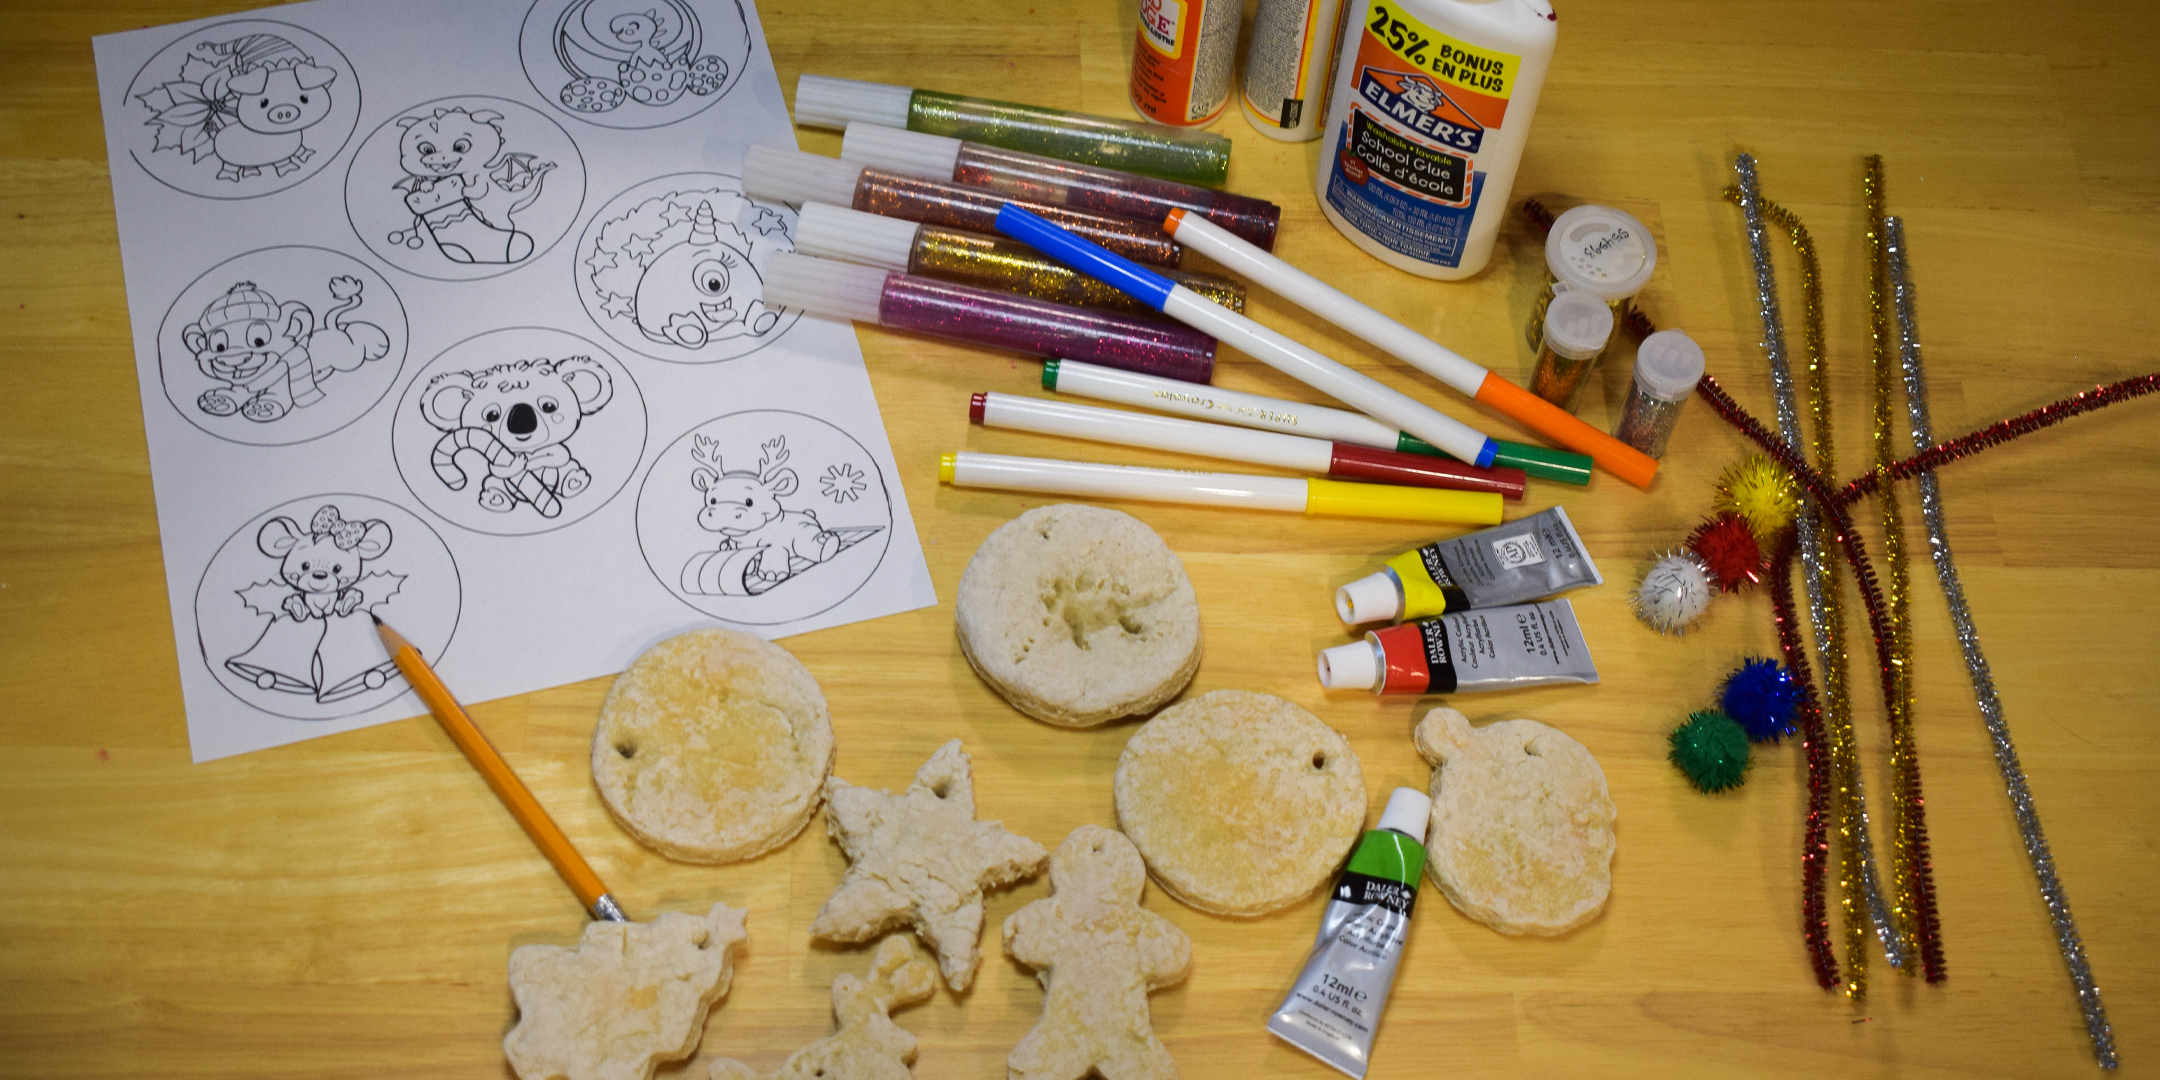
- Paints, markers, stickers, or glitter
- Mod Podge (to seal them and make them last)
- Optional: small toys or stamps for imprinting fun shapes
- Optional: Paint primer (for Pencil Transfer/Trace Method)
Step 1: Print Your Designs
Ask your grown-up to help you print out any designs you’d like to trace onto your ornament. Just load the paper, press print, and ta-da—your picture appears like magic! And if you’re feeling extra creative, you can draw your very own holiday design first and print it out to make your ornament truly one-of-a-kind!
Downloadable Rearz Ornament Templates:
[Click Here To Download]
Printing instructions can be found at the bottom of the blog.
Step 2: Preheat the Oven
If you’re planning to bake your salt dough, ask your grown-up to preheat the oven to 200°F (93°C). That way, your ornaments will be ready to pop in as soon as you finish shaping them!
(Remember: Anything involving the oven should always be handled by a grown-up! Oven temperatures may vary depending on the appliance.)
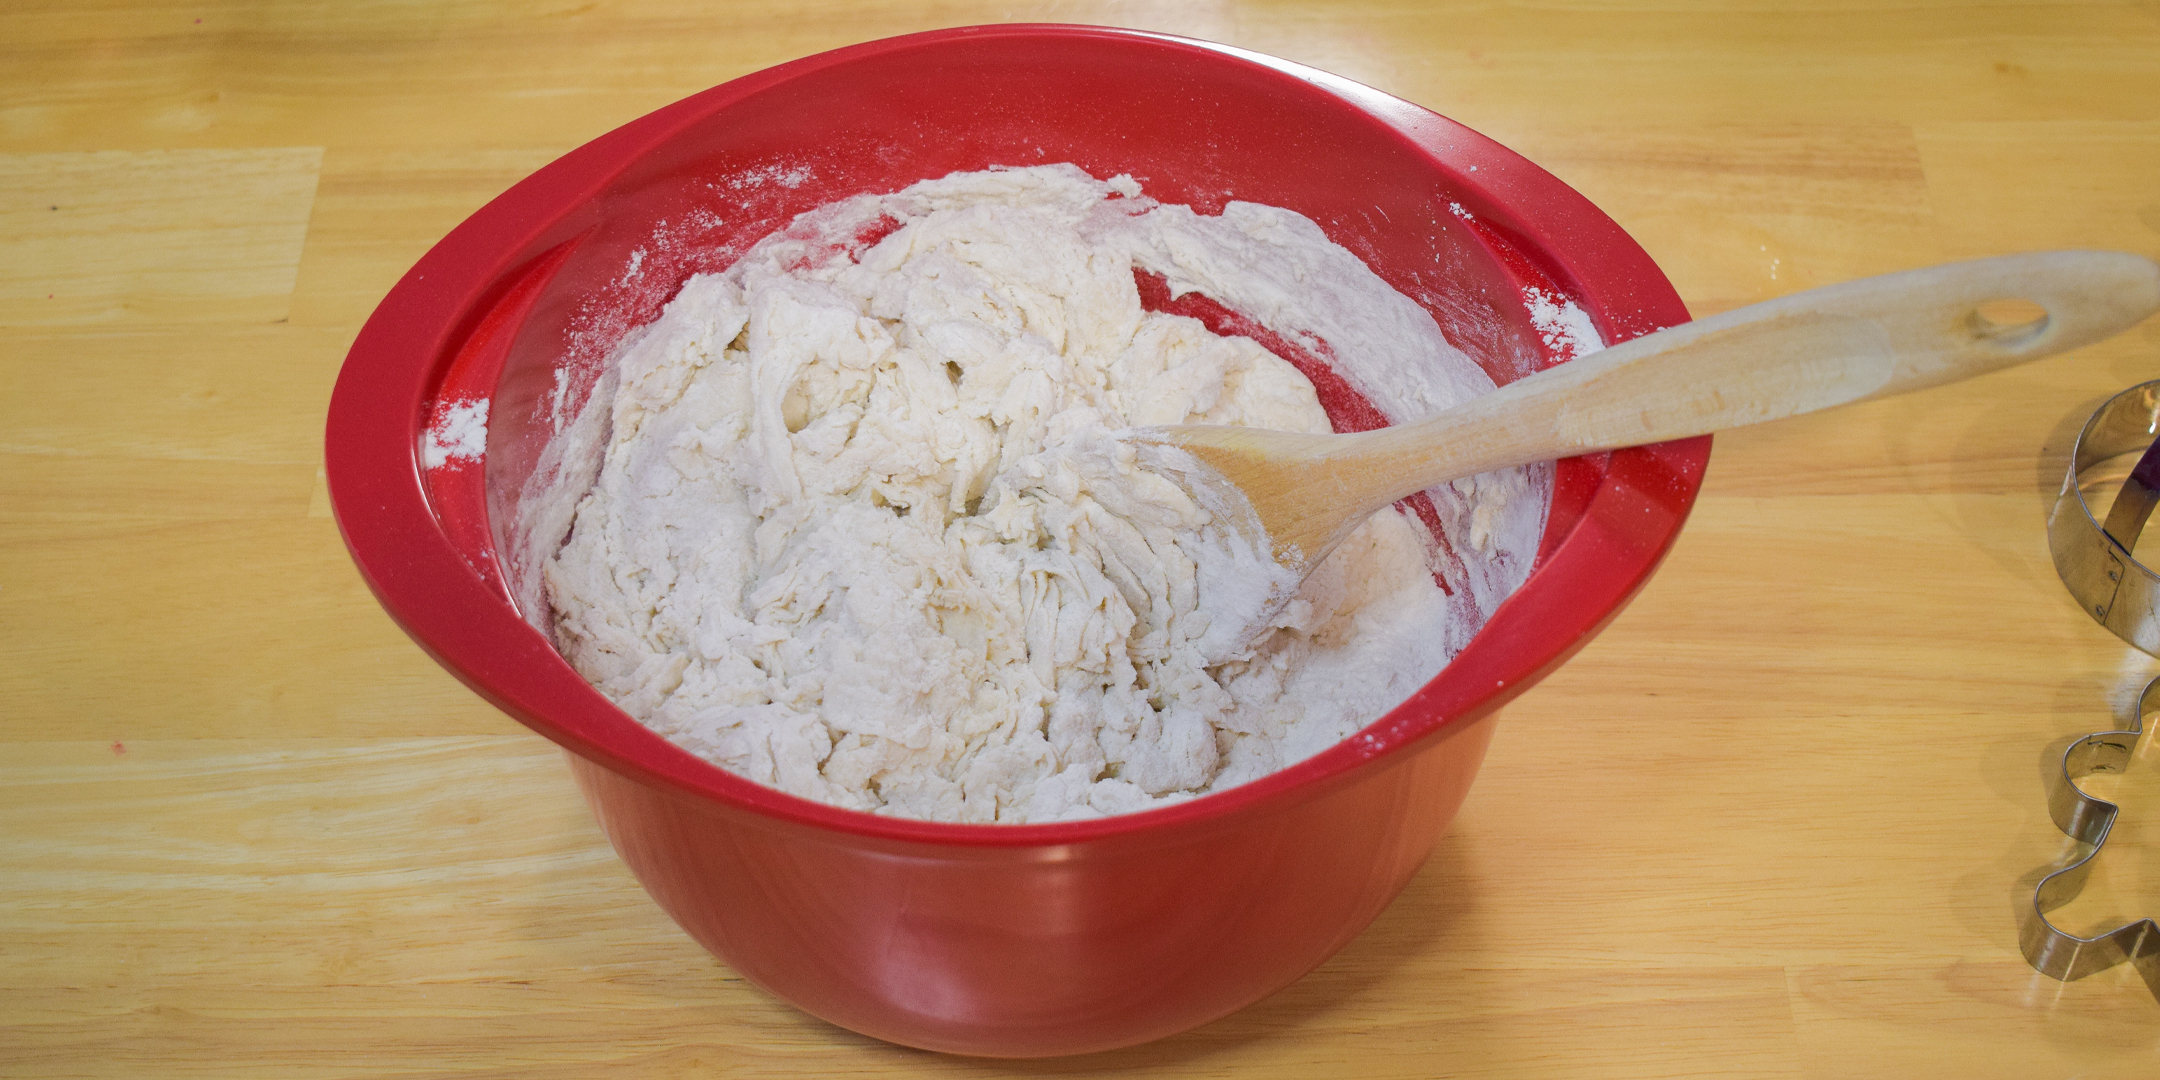
Step 3: Mix Your Magical Dough
Ask your grown-up to help measure the flour and salt, then pour them into a bowl and give it a good stir. Add warm water and mix with a spoon until the dough starts to come together.
Now it’s time to knead! Squish, press, and fold the dough until it’s soft and smooth like playdough. If it feels sticky, sprinkle in a little extra flour; if it’s too crumbly, add a splash of water.
Tip: This part is super calming—take your time! If your hands get tired, your grown-up can help you mix and knead.
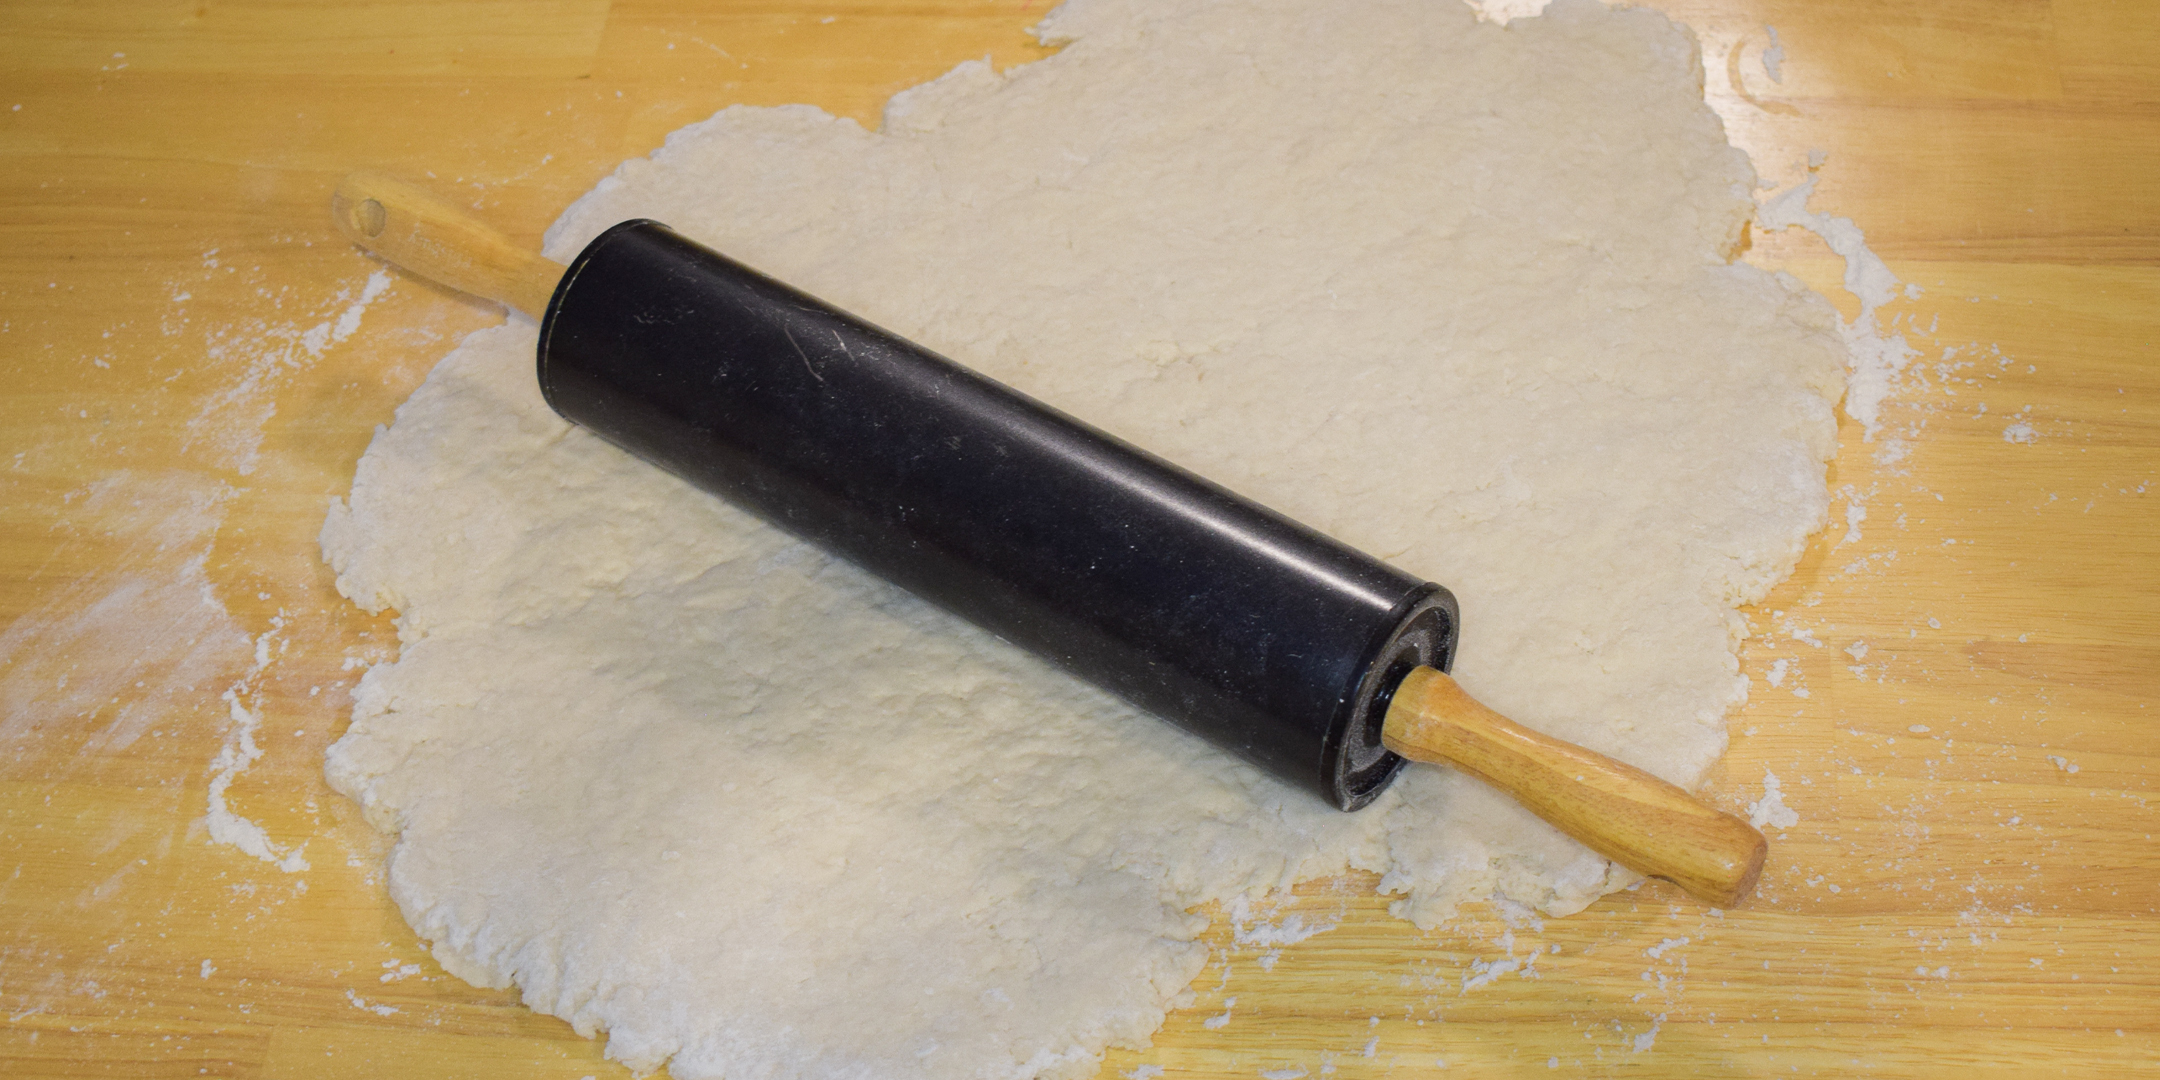
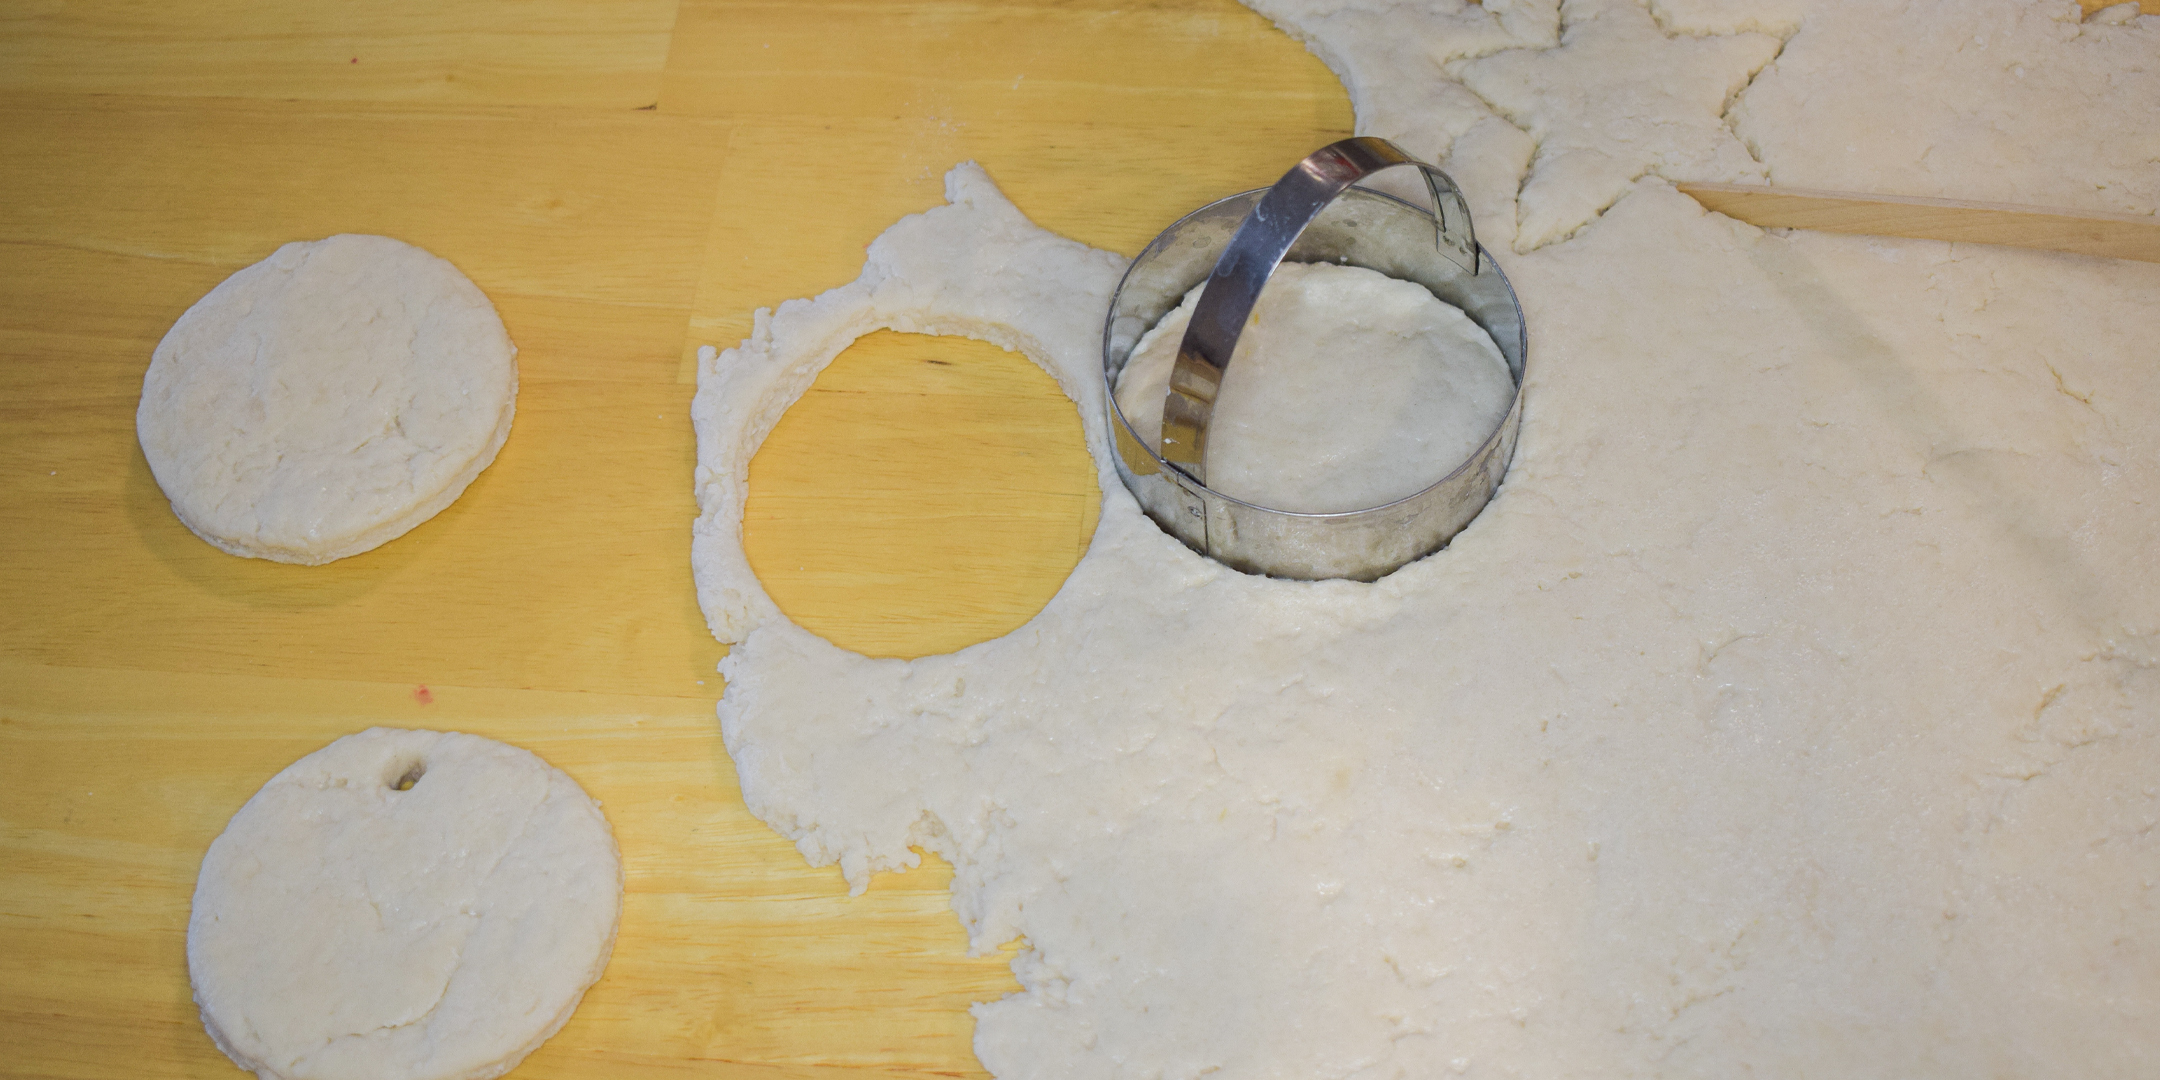
Step 4: Roll It Out & Make Shapes
Sprinkle flour on your table and roll your dough until it’s about ⅛ or ¼ inch thick.
Shape Ideas:
- Use cookie cutters to make stars, hearts, Christmas trees, teddy bears… whatever makes you smile!
- No cookie cutters? No problem! Try the Pencil Transfer/Trace Method: First, shape your dough into something simple, like a heart or circle. Then, print or draw a design on paper. On the back of the paper, shade with a pencil to cover the area where the design is. Place the paper lightly on the dough, and trace over the design with a pencil. This will leave a faint outline on the dough that you can follow with a popsicle stick or pencil to shape it perfectly!
(Tip! If your design isn’t transferring well, try applying a coat of primer paint to your ornament first!)
Lift each shape gently and smooth the edges. If the dough gets soft or wiggly, go slow—your grown-up helper can steady the pieces for you!
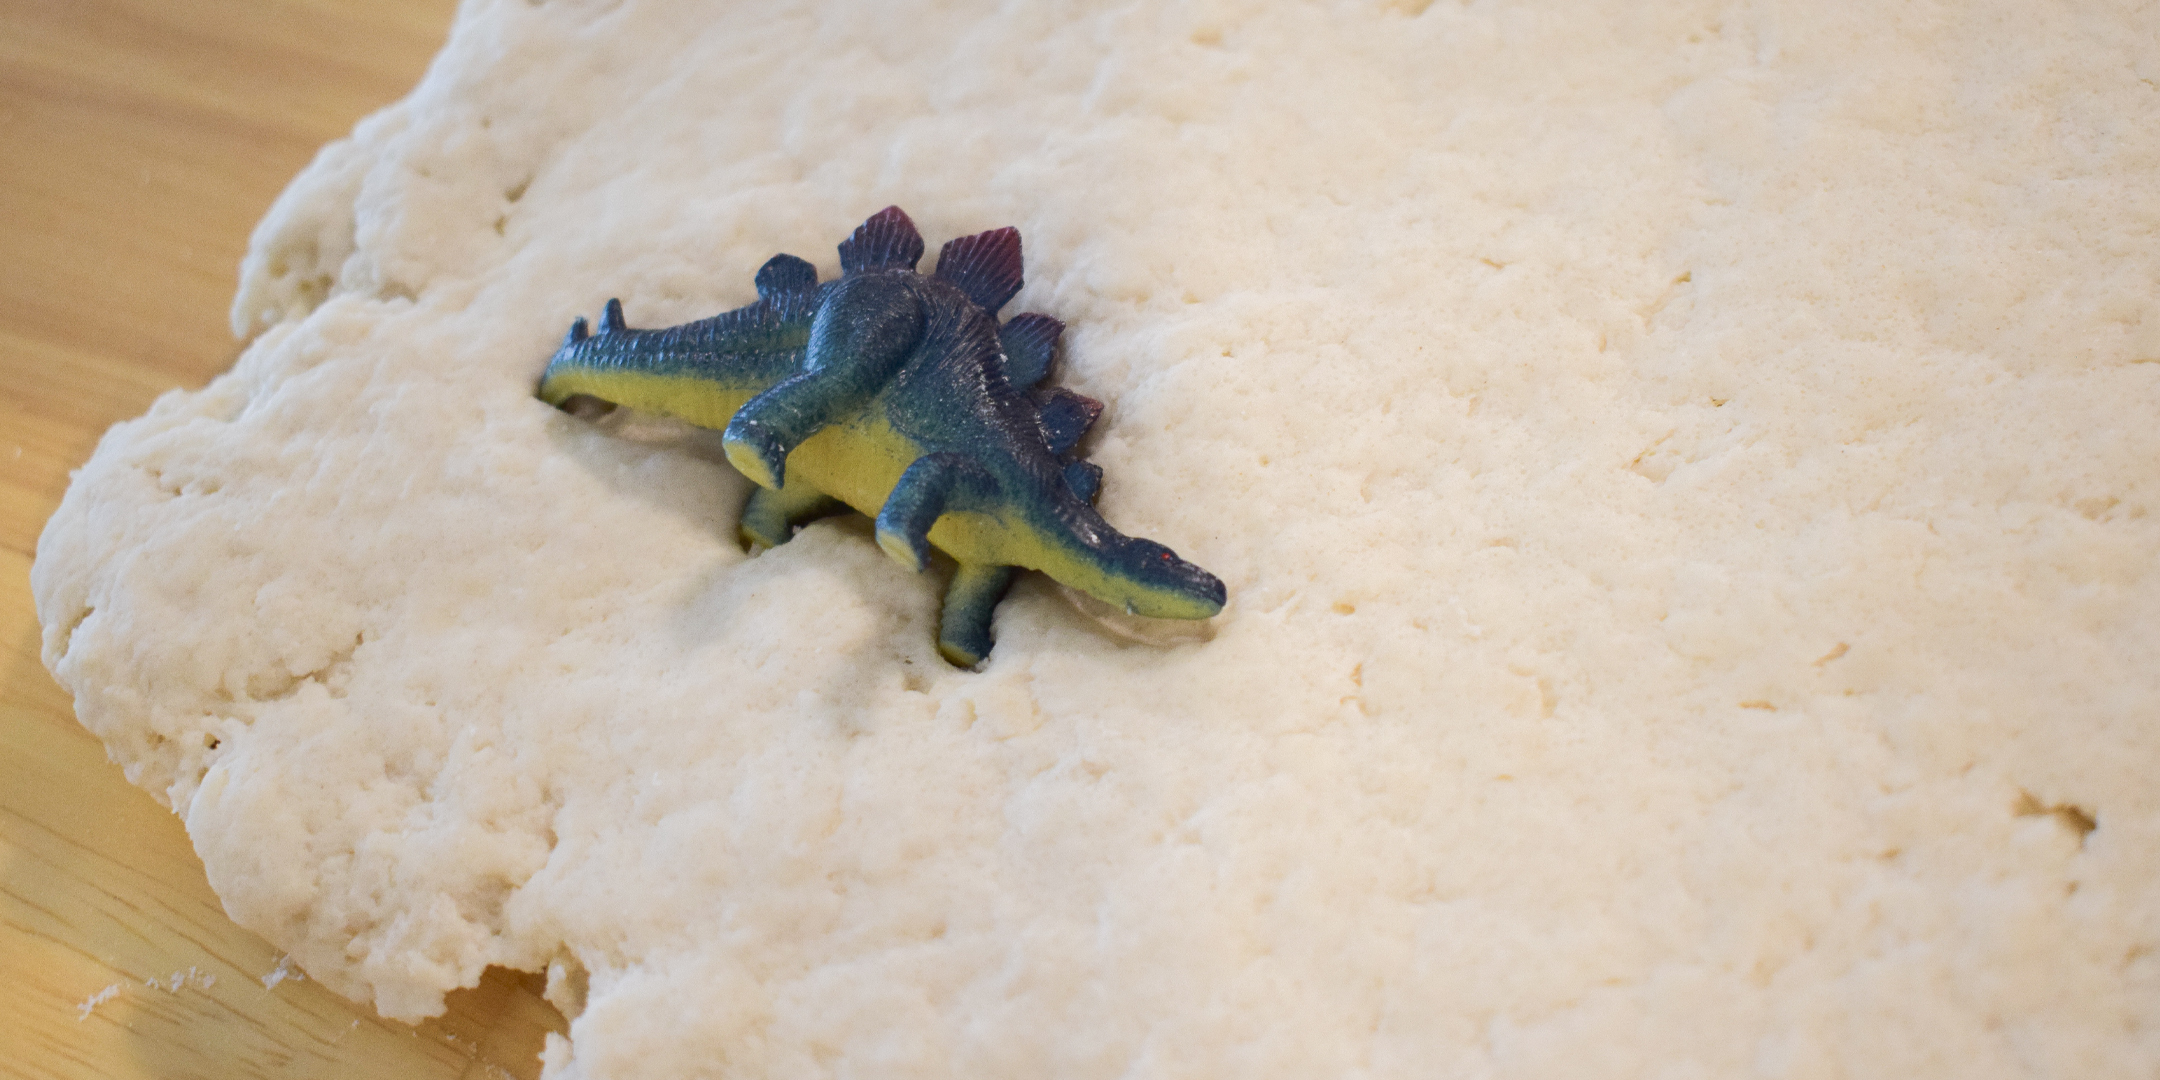
Step 5: Imprint Fun (Optional!)
Want to add extra charm? Press a small toy (like a miniature animal or Christmas figurine) into the dough before baking. This makes a cute raised pattern or handprint/footprint for keepsakes. Gently lift the toy away, and your design is ready to bake!
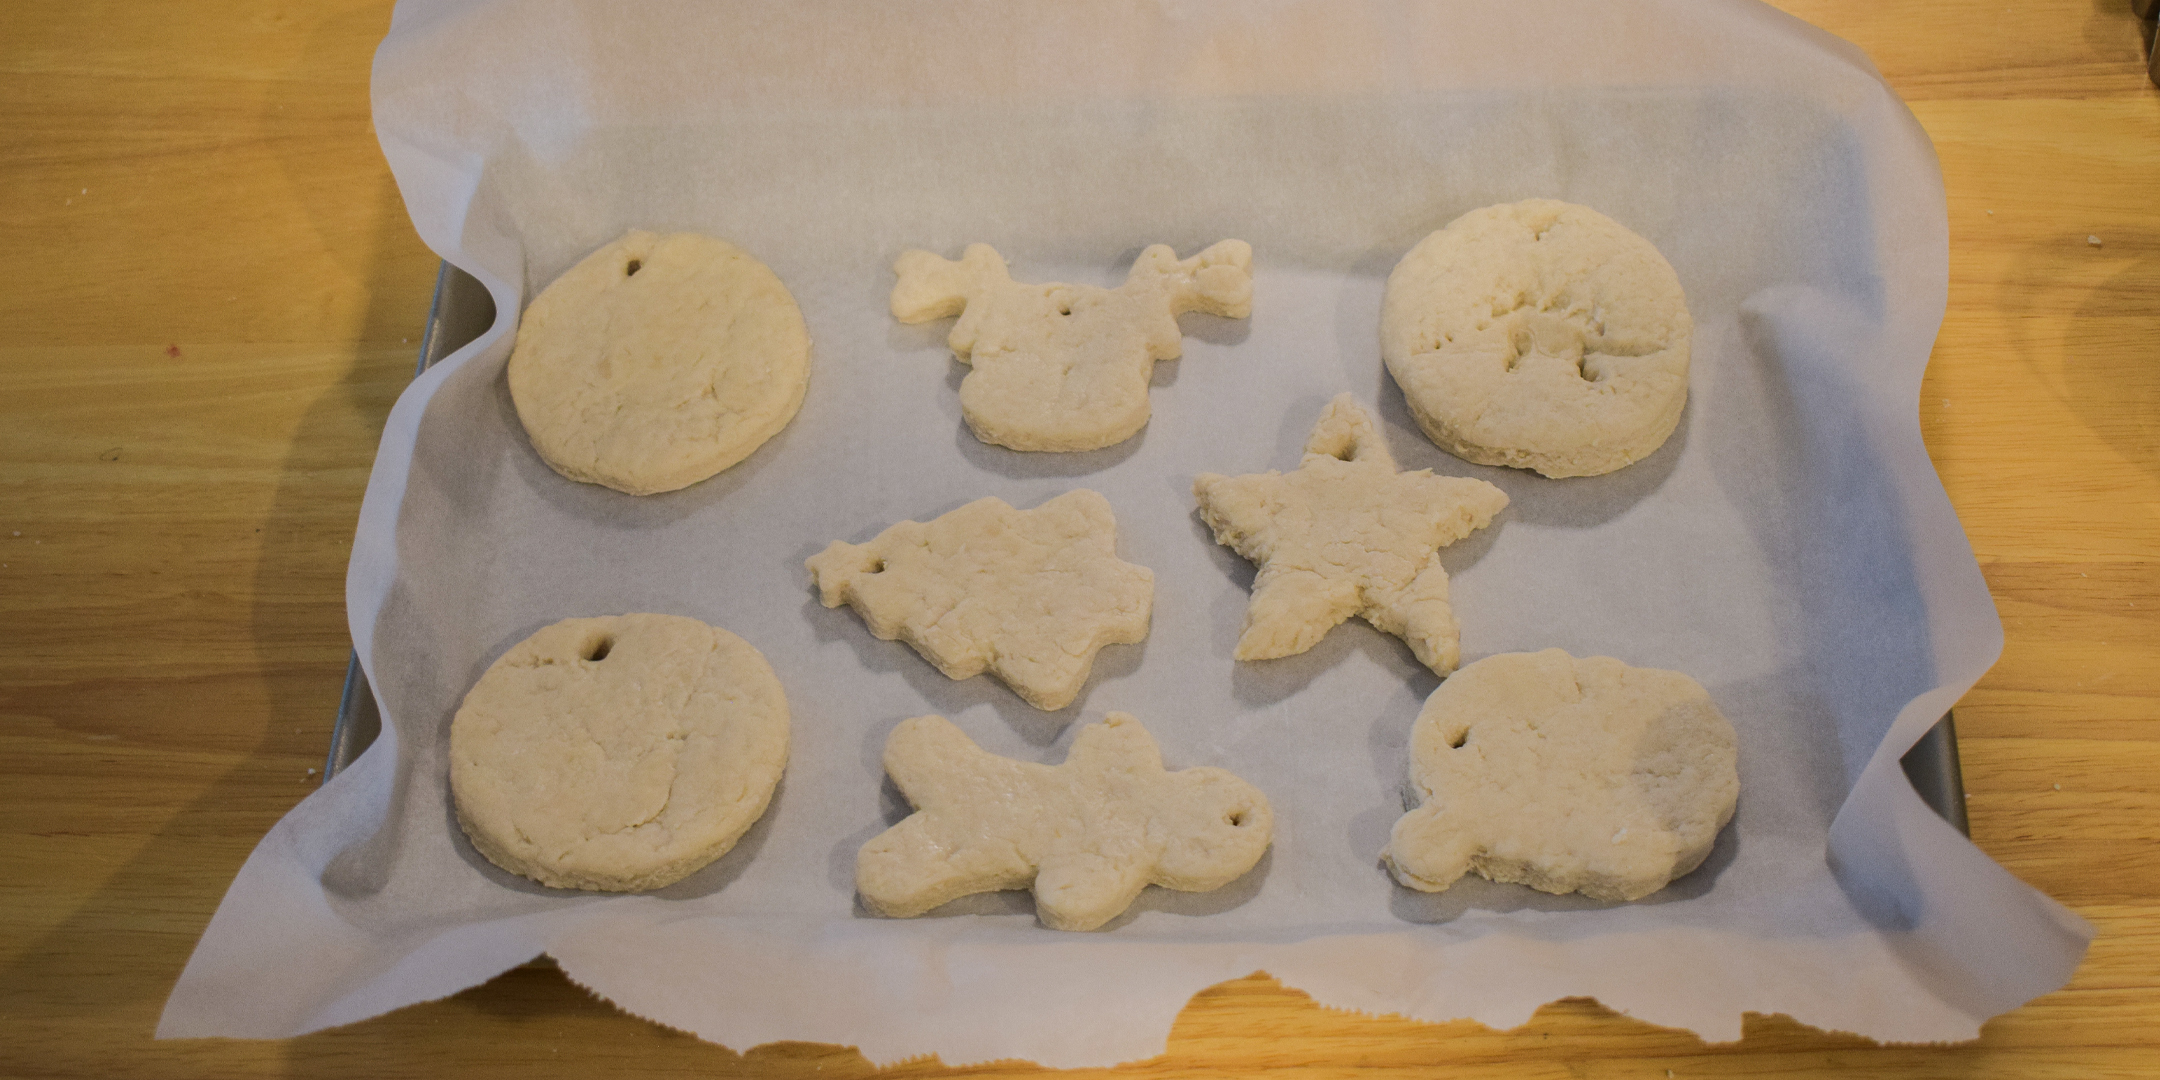
Step 6: Make a Hole for Hanging
Use a straw or pencil to poke a small hole at the top of each ornament. This is where your ribbon or yarn will go.
Step 7: Bake or Air-Dry
- Oven method: Place your ornaments on a parchment-lined tray and have your grown-up bake them at 200°F (93°C) for 2–3 hours, checking every hour until dry.
(Remember: Oven time is always a grown-up job!)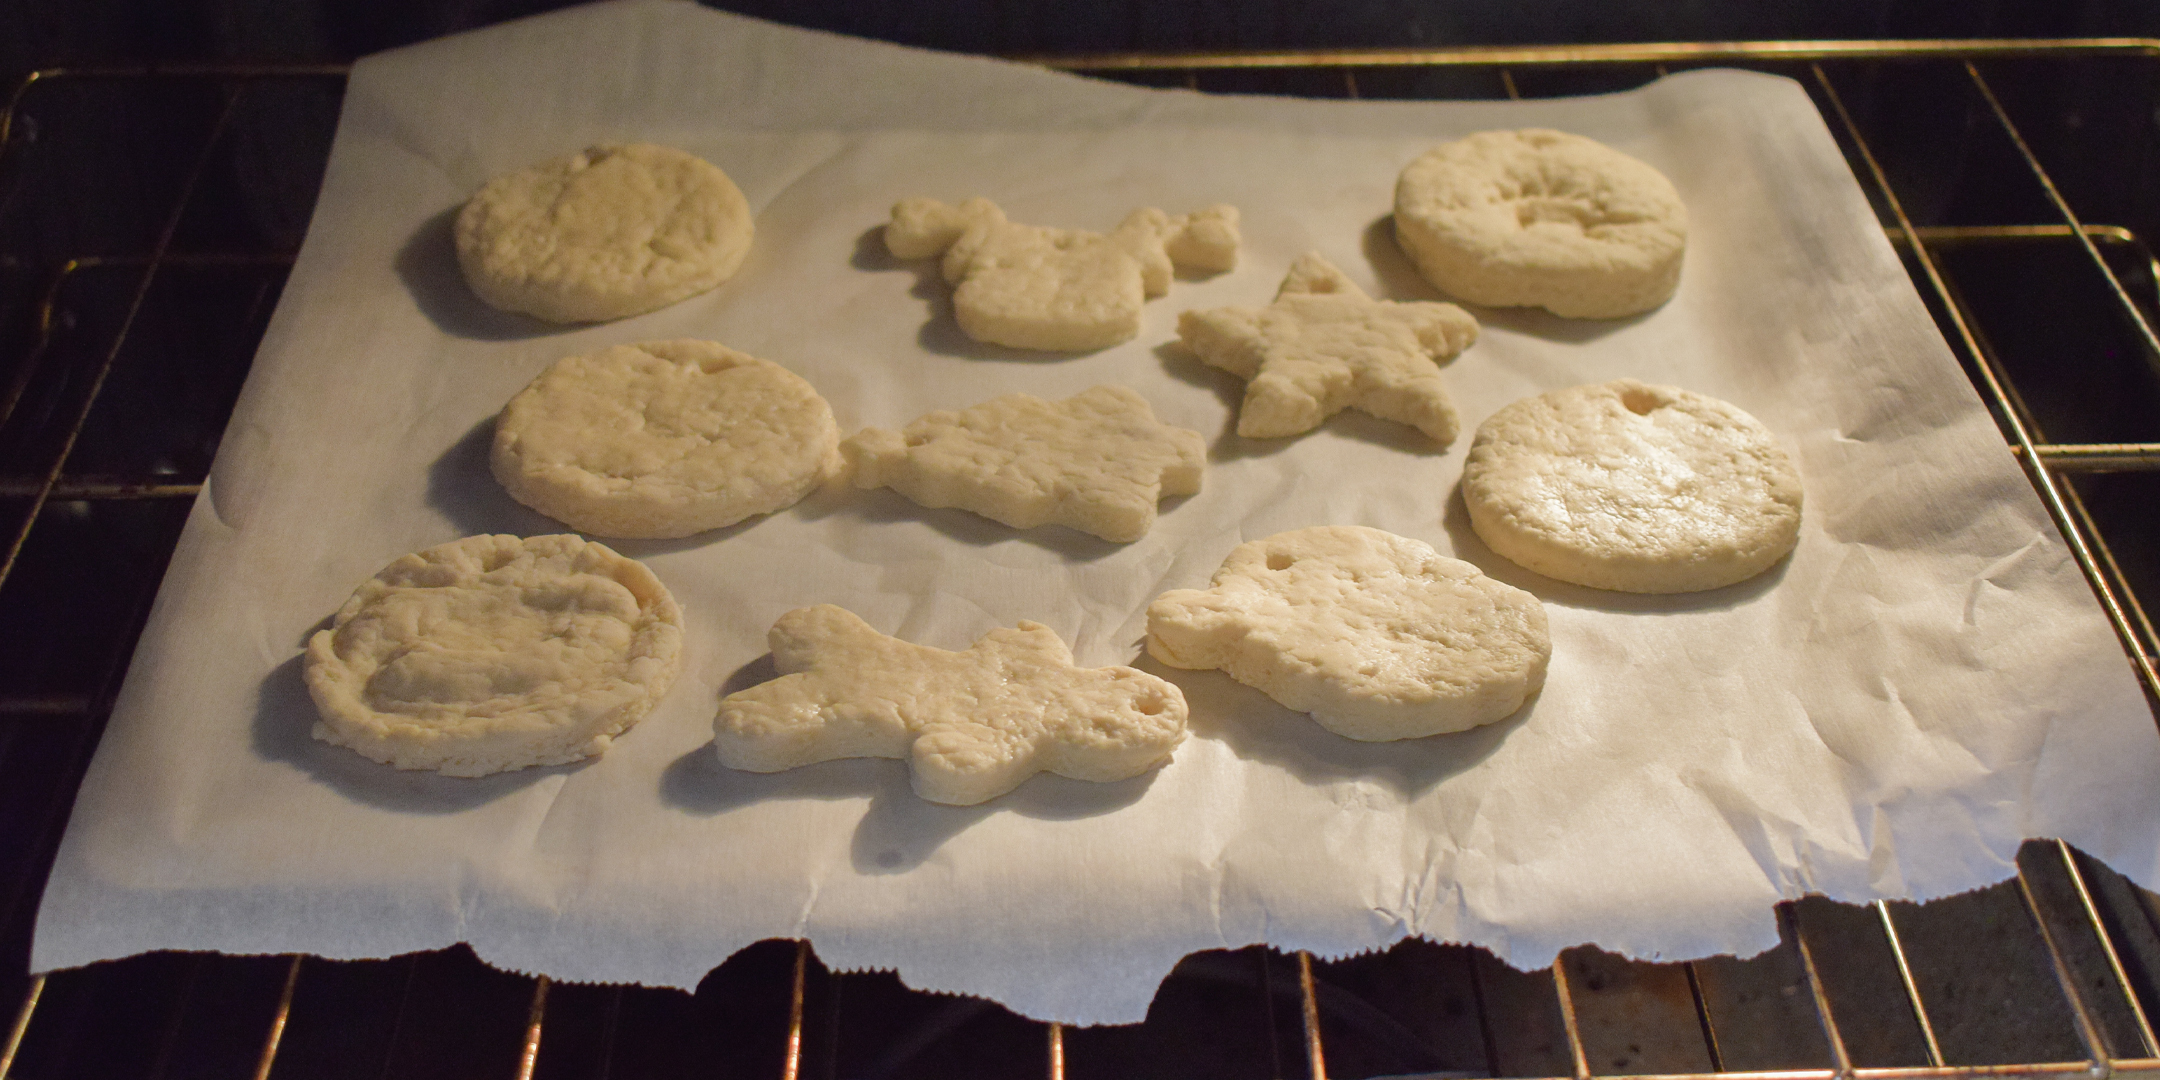
- Air-dry method: Place ornaments in a warm, dry spot for a couple of days, flipping them now and then.
Step 8: Time to Decorate!
Once your ornaments are cool and dry, it’s decorating time—woohoo!
- Paint with bright Christmas colors
- Add glitter for twinkle
- Use markers, stickers, gems, or anything sparkly you love
- Thread ribbon or yarn through the hanging hole
Extra Tips:
- You can seal your painting and ornament with Mod Podge for a long-lasting keepsake.
- Store extra dough in a sealed bag to save for another craft day!
Making Christmas Salt Dough Ornaments is such a warm, hands-on holiday craft. You’ll get to squish, shape, decorate, and create something truly special—made by you, with love and sparkle. Have fun, little artists, and don’t forget to show your grown-up your magical creations when you're all finished!
How to Print Your Ornament Designs:
- Open your document: Start by opening the document you want to print.
- Select Print: Go to the “File” menu and click on “Print,” or press Ctrl + P (Windows) or Cmd + P (Mac).
- Choose Printer: Select the printer you want to use.
- Scale the Document: Find the “Scale” or “Fit to Page” option and set the size if needed (like 150% or 200%).
- Preview Your Print: Double-check the preview to make sure everything looks great!
- Print: Press “Print” and get your Ornament patterns ready to go!