


Pacifier Popsicles: The Coolest Craft of the Summer
Posted by E on 2026 Aug 13th
The sun is out, the sidewalk is hot, and the freezer is calling your name.
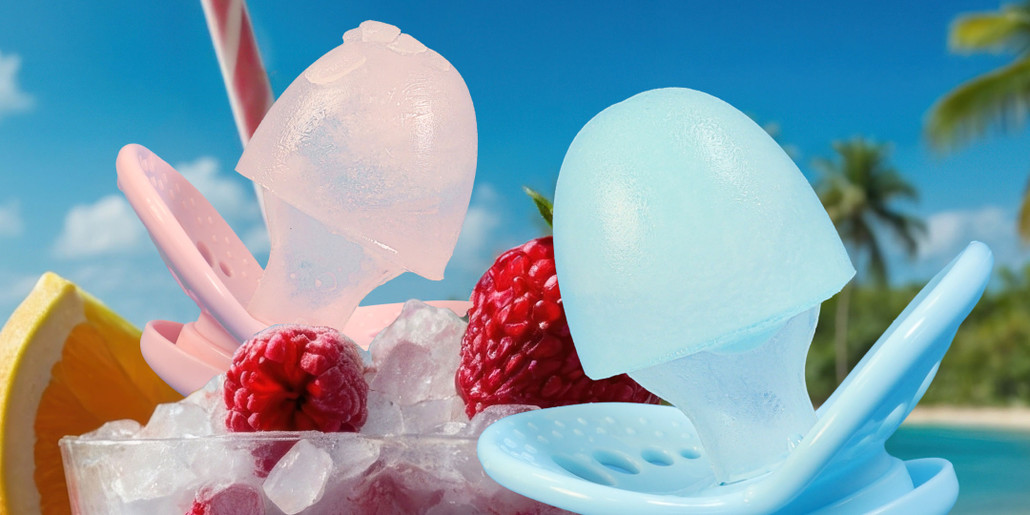
Pacifier popsicles are exactly what they sound like. You freeze your favorite juice, smoothie, or yogurt right onto your pacifier, and you get a frosty treat with a handle built in. No sticky wooden stick. Just a cool, colorful pop that looks adorable and tastes even better.
Here is the fun part: the sanitary cover for your Hypnos Sleep Aid doubles as a popsicle mold. It snaps right over the nipple, holds a perfect little scoop of liquid, and keeps everything tidy while it freezes. If you already own one, you already own the hardest-to-find craft supply on this list.
Littles, adult babies, and caregivers can all get in on this one. Grab a spoon and let's go.
Before You Start
A grown-up should handle the knife work, the freezer wrangling, and anything sticky or sharp. Cutting fruit is a caregiver job. So is pulling frozen molds out and running them under warm water.
Wash your Hypnos and its cover with warm soapy water before you begin, then rinse well. Food is going in there, so start clean.
What You'll Need
Your Gear
- Hypnos Sleep Aid pacifier
- Hypnos sanitary cover, which is doing double duty as your mold
- A small cup or narrow glass to hold everything upright (or small frozen items like peas)
- A spoon for mixing
- Regular popsicle molds if you want to make a bigger batch
Your Filling
- Fruit juice
- Yogurt
- Smoothies
- Lemonade or iced tea
- Fresh fruit: strawberries, blueberries, mango, kiwi
Little Extras
- A second flavor for layering
- Tiny edible sprinkles or decorations
Step 1: Pick Your Flavors
This is the daydreaming step. Before anything gets poured, decide what you actually want to taste.
Orange juice freezes into something bright and classic. Grape turns a spectacular purple. A strawberry smoothie gives you a creamy pink pop. Yogurt makes the richest treat of the bunch, though plain yogurt freezes hard enough to challenge your teeth, so stir in a spoonful of juice or honey first to keep it lickable.
Want stripes? Pick two or three colors that look good stacked. You will pour them one at a time, freezing about 30 to 45 minutes between each layer so they stay in neat bands instead of blurring together.
Step 2: Drop In Some Fruit
Little fruit chunks turn a plain pop into something worth photographing. Blueberries suspend beautifully. Sliced strawberries look like stained glass once they freeze. Mango and kiwi both hold their color.
Drop the pieces into your cover or mold before you pour, and keep them small so they freeze through instead of turning into an icy pebble. Skipping the fruit is completely fine, so move along to Step 3 if you would rather keep things simple.
Caregiver tip: Fruit prep means knives. This step belongs to a grown-up.
Step 3: Pour
Fill your cover or mold about three quarters of the way. Resist the urge to top it off, because liquid expands as it freezes and you need room for the pacifier shield to sit properly.
Pour slowly. A gentle stream keeps layers crisp and keeps your counter clean.
Step 4: Stand It Up Straight
Place your pacifier in the center of the mold and it should snap into place.
Step 5: The Long Wait
Into the freezer it goes. Four to six hours will do it, and overnight is even better.
If it tips, you can use small frozen items like peas to help support the shield or try placing your hypnos in a small cup. This will help keep it upright while freezing.
This is the hardest step. Go outside, watch a movie, take a nap, do anything except open the freezer every ten minutes to check. The pop will not freeze faster because you stared at it.
Step 6: Pop It Out
If your popsicle slides right out, wonderful. If it clings to the mold, run warm water over the outside for a few seconds and try again with a gentle pull. Never yank, because a stuck pop will crack before it releases.
Then take a lick. You made that.
Step 7: Show It Off
Popsicles taste better with company. Make a few flavors, hand them around, and see whose stripes came out neatest.
Snap a photo before it melts and tag @rearzinc so we can see what you came up with. We love seeing these.
A Few Last Tips
- Keep fruit pieces small so they freeze evenly
- Wipe spills as they happen and keep the pops out of standing water
- Extras keep in the freezer, so wrap them and save them for tomorrow
- Cloudy juices and smoothies hide layer lines, while clear juices show them off
Pacifier popsicles take about ten minutes of actual work and a whole lot of waiting, which makes them a perfect lazy summer afternoon project. Mix your flavors, pick your colors, and stay cool out there.
Ready to make your own? Grab a Hypnos Sleep Aid and a sanitary cover and you have everything you need for the coolest craft of the season.
Caregiver supervision is recommended for cutting fruit, handling freezer molds, and anything sticky or sharp.