


Rearz Crafts: DIY Custom Pacifier
Posted by E on 2026 Mar 31st
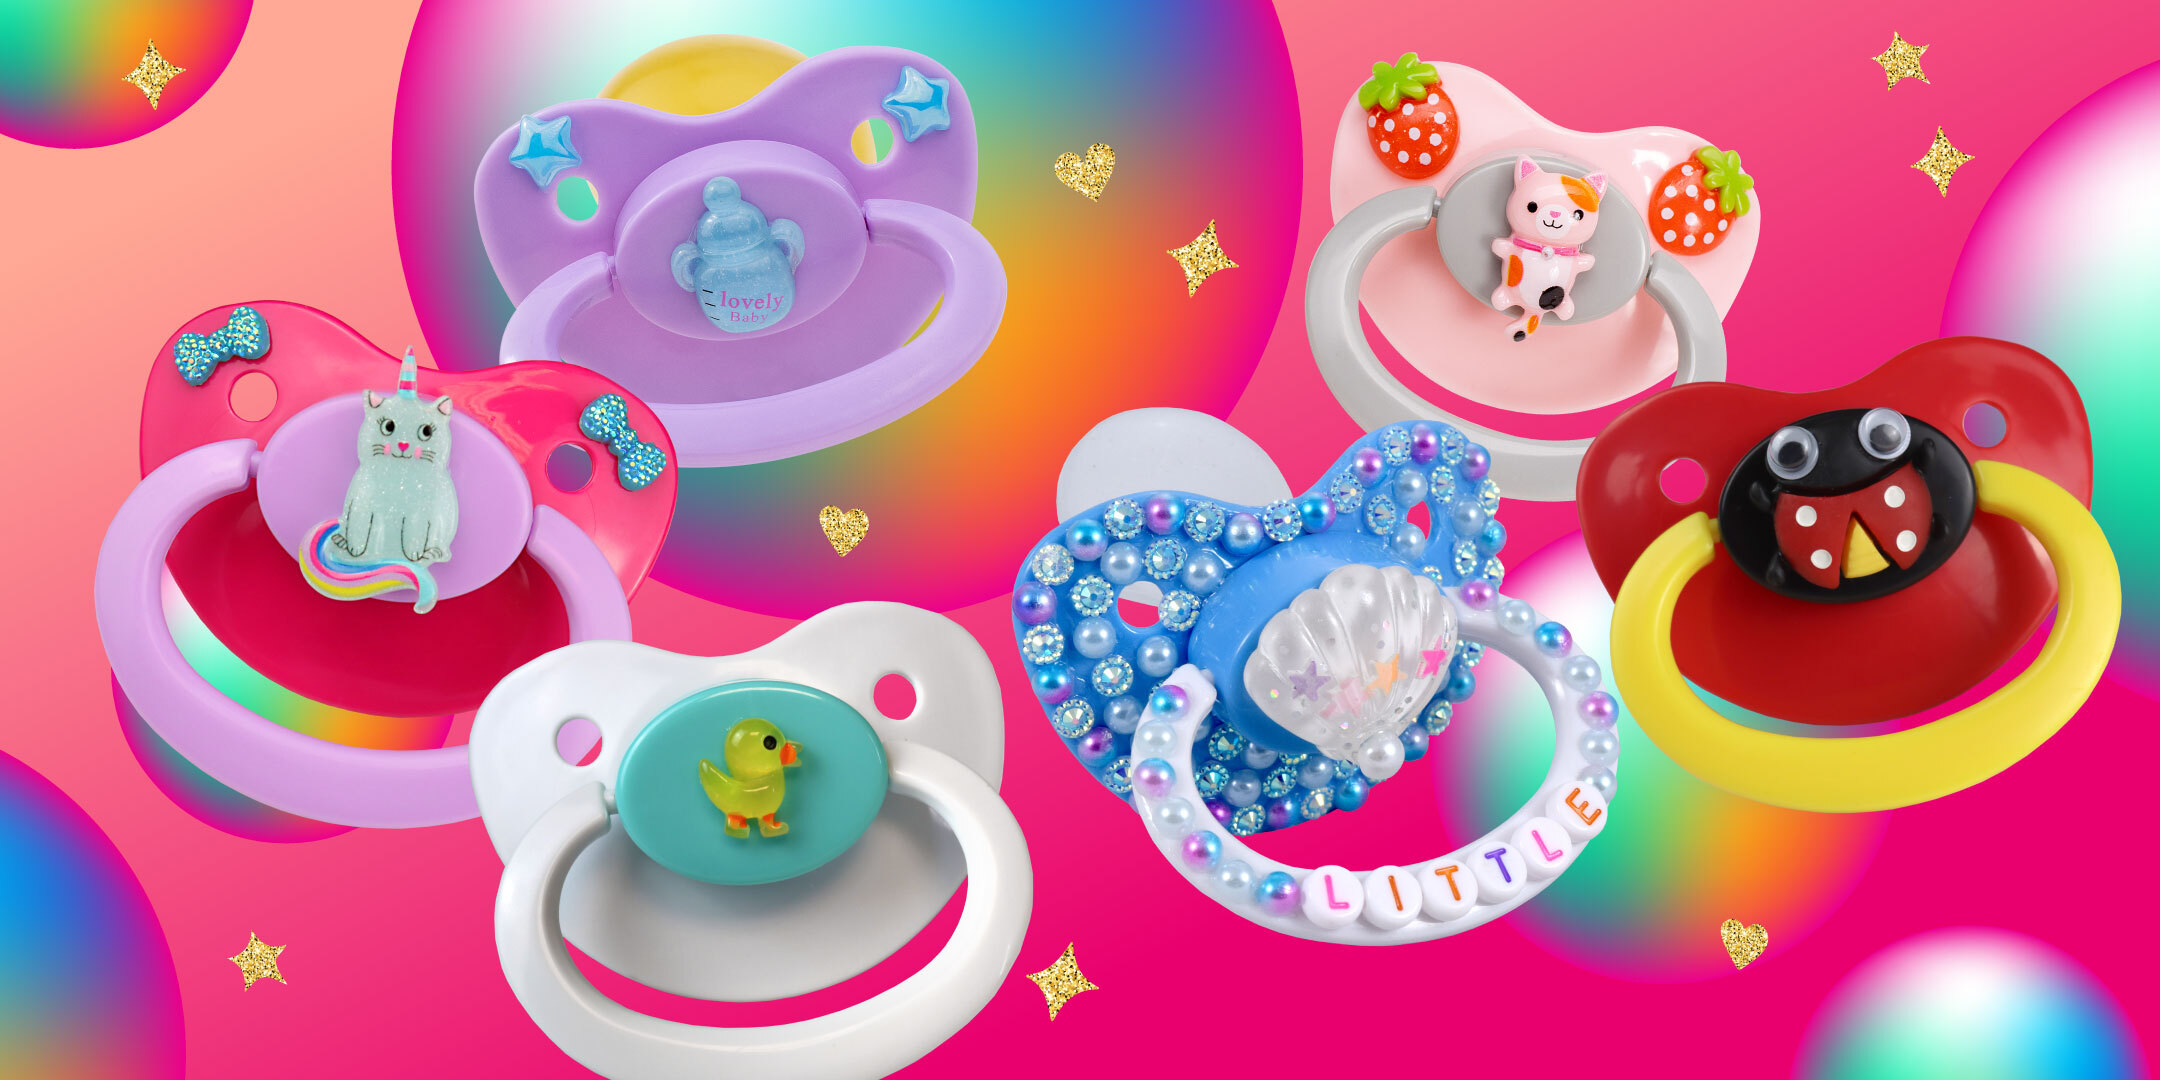
Custom pacifiers have taken the community by storm, and it is easy to see why. A beautifully decorated pacifier is one of the most personal and expressive accessories a little or adult baby can have, and the creativity on display across social media is truly inspiring. The best part? Those stunning creations start with the exact same pacifiers available right here at Rearz.ca.
Rearz is one of the largest suppliers of pacifiers to custom creators all around the world, trusted by the very artists whose work fills social media feeds every day. So whether this is a very first custom project or the latest in a long line of creations, this step-by-step guide has everything needed to get started.
Before diving in, some steps in this project do require a grown-up's help, so having mommy, daddy, or a caregiver close by before beginning is always a good idea.
What You'll Need
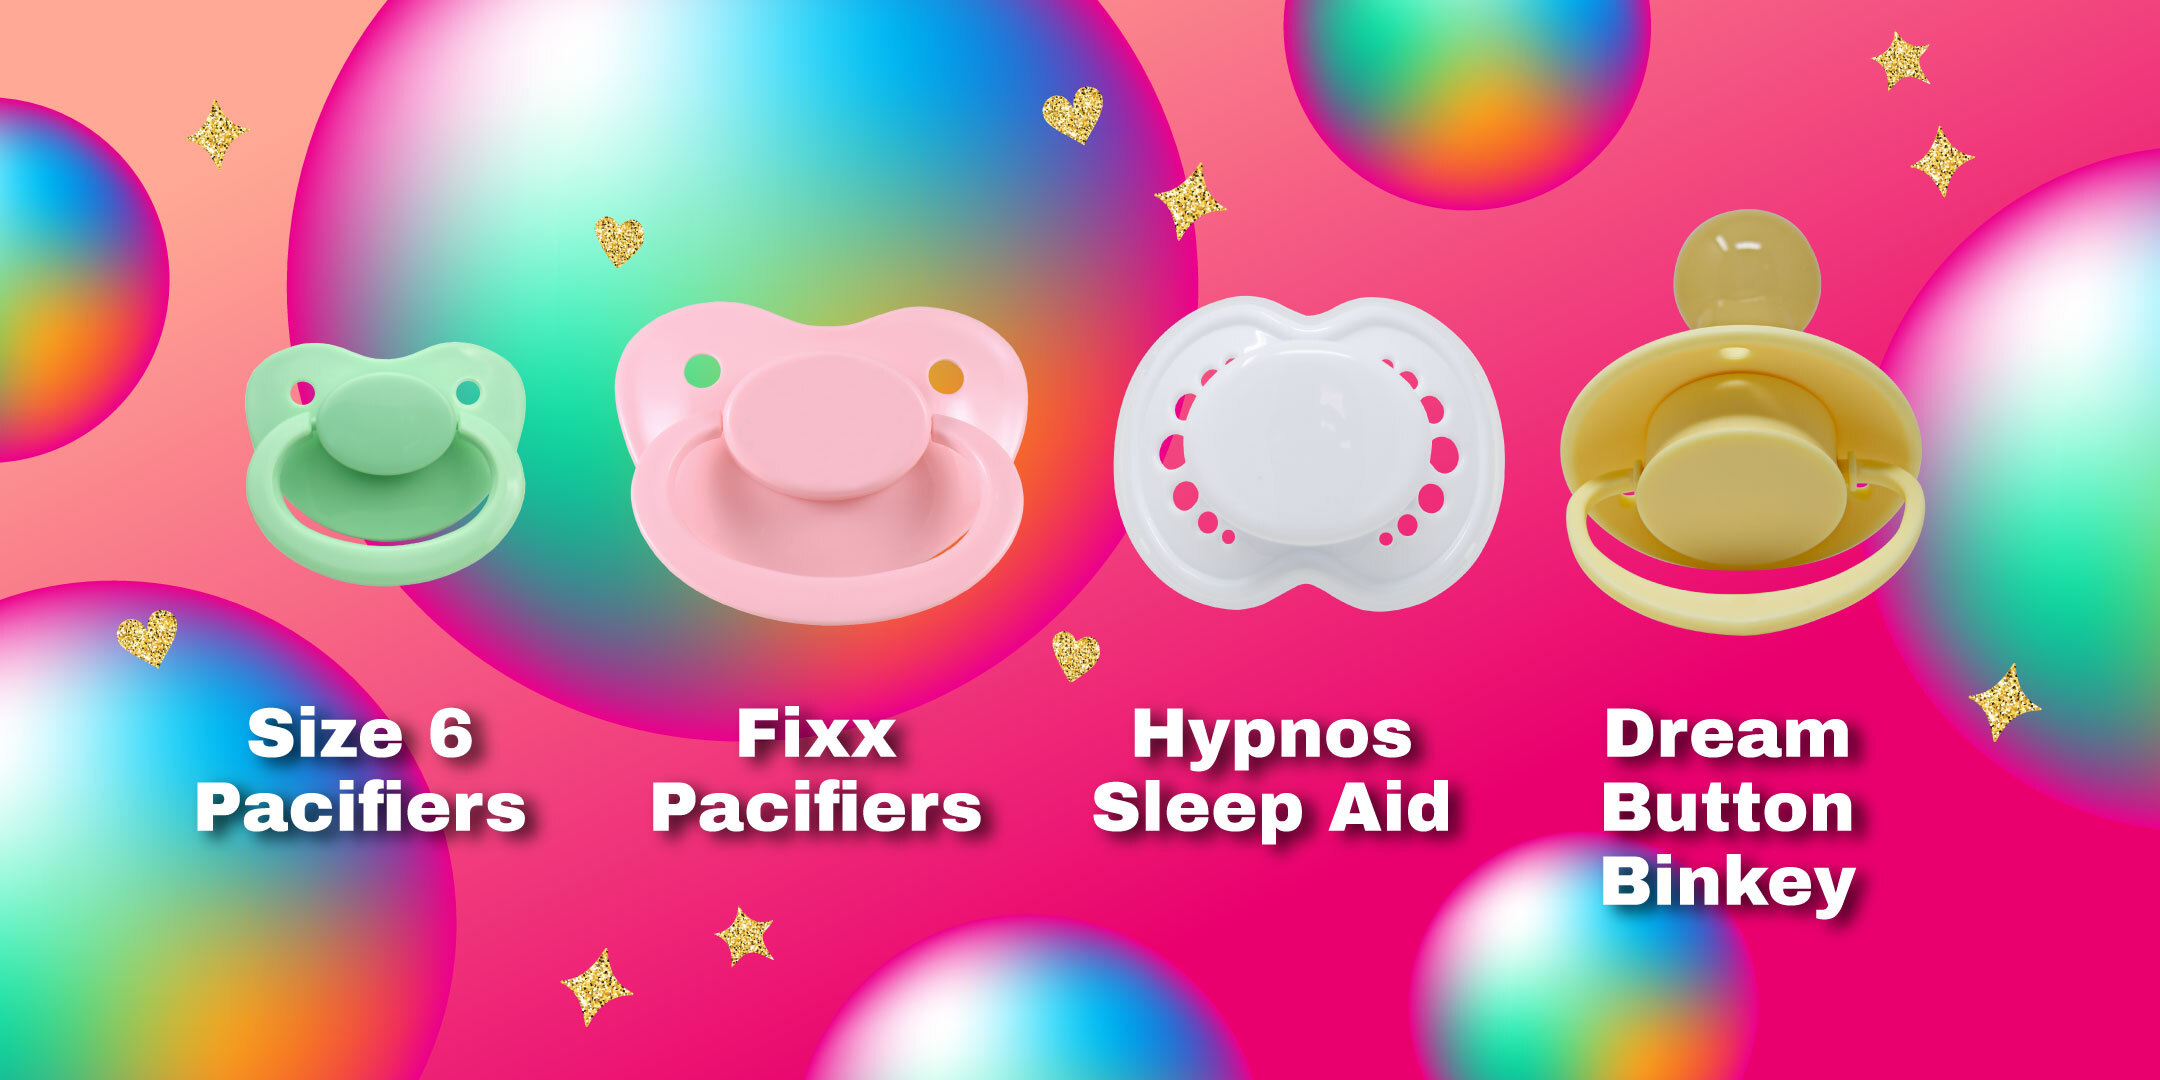
Pacifier Base: Rearz offers some wonderful pacifiers that are just perfect for decorating. Any of these work beautifully:
All of these are available right here at Rearz.ca!
Basic Supplies:
- Stickers or decals
- Paint markers
- Glitter (for extra sparkle!)
- Non-toxic craft glue
- Mod Podge and a little bit of water
Optional Advanced Supplies (best handled with a caregiver's help!):
- Flat-back charms, gems, or cabochons
- Small themed decorations (stars, hearts, little animals!)
- Tweezers for tiny pieces
- High-grit sandpaper for light prep
- Matte medium
- Acrylic paint and brushes
Step 1: Plan Your Design
Before touching anything, take a little moment to think the design through. Lay all the decorations out on top of the pacifier shield and try a few different arrangements. Maybe a big beautiful centerpiece, a teeny sprinkle of gems all around, or a soft pretty pattern across the whole surface.
Craft Tip: Tracing the pacifier onto a piece of paper and sketching the design there first makes decorating so much easier and is a really lovely way to get littles and adult babies excited before the real thing begins!
Step 2: Prep Your Pacifier
Making sure the pacifier is clean and completely dry before starting will help everything adhere really well. For those planning to paint, a light sanding or a base coat of matte medium can help the paint bond to the surface better.
This is a great step for mommy, daddy, or a caregiver to take care of, especially the sanding portion, before handing things over for the fun decorating steps.
Also, if the supplies include E6000 glue, please make sure mommy, daddy, or a caregiver handles that one. It is a really strong adhesive that works wonderfully, but it is not something little hands should use on their own.
Step 3: Start Decorating!
Now for the fun part!
Beginner Level:
- Stickers, paint markers, and decals are a wonderful place to start
- Begin with the bigger pieces first, then fill in all the smaller details
- Remember, a little glue goes a long way!
Advanced Level:
- Use tweezers to carefully place tiny charms, gems, or mini decorations
- Layer pieces creatively and take your time, patience is part of the fun!
- Mommy, daddy, or a caregiver can always help with any particularly fiddly bits
Step 4: Seal Your Design
Once the pacifier is completely dry, about 24 hours to be safe, it is time to seal everything in! Brush on a thin coat of Mod Podge mixed with just a tiny bit of water, then let it cure for a couple of days. This locks the design in place so everything stays beautiful, whether it is being used for play or display.
This is a wonderful step for mommy, daddy, or a caregiver to take the lead on to make sure everything is sealed properly and safely.
Step 5: Safety Check
Before the finished pacifier is used, a quick check is always worth doing:
- Make sure all decorations are secure, and nothing is loose
- Keep all decorations away from the teat, that part stays plain and safe
- Touch up anything that does not feel fully attached
When in doubt, having mommy, daddy, or a caregiver give it a final look before use is always the safest approach!
Step 6: Show It Off!
Now for the very best part! Match the finished creation to a favourite outfit, a mood, or a theme. Make a few and start a whole collection. Most importantly, share those designs with the Rearz community online. Seeing what everyone comes up with is always so exciting, and the creativity of this community never fails to inspire others to make their very own. If posting on social media, feel free to tag @rearzinc. We absolutely love seeing what gets made!
A Few Extra Tips
- Keep decorations lightweight so the pacifier stays comfortable
- Do not soak the pacifier in water; a gentle wipe is all it needs
- Store in a cool, dry place to keep colours looking fresh
- A handmade pacifier makes a really thoughtful and special gift for a friend or caregiver
Decorating a pacifier is so much more than just a craft. It is a wonderful way for littles and adult babies to express themselves and create something that is entirely their own, all while spending quality time with mommy, daddy, or a caregiver. Gather up those supplies, put on some favourite tunes, and get creating. We cannot wait to see what gets made!?
All pacifiers featured in this guide are available at Rearz.ca. Caregiver supervision is recommended for steps involving adhesives, sharp tools, or small parts.